Reading Data from Shopify - JSON Reader
This guide will create a ‘Reader’ to read orders from Shopify. The primary reference will be the Shopify API, specifically the Orders endpoint.
https://help.shopify.com/api/reference/order
In this section you will learn how to:
- Setup the IO Controller for reading from Webservices.
- Learn how to address the data being returned from the webservice.
- Learn how to setup a hierarchical datasource.
Step a – Add the JSON Reader
- Create a new Integration.
- Click on the Transform Setup tab; click on Readers; drag a JSON Reader onto the design palette and; double click to open the transform setup screen.
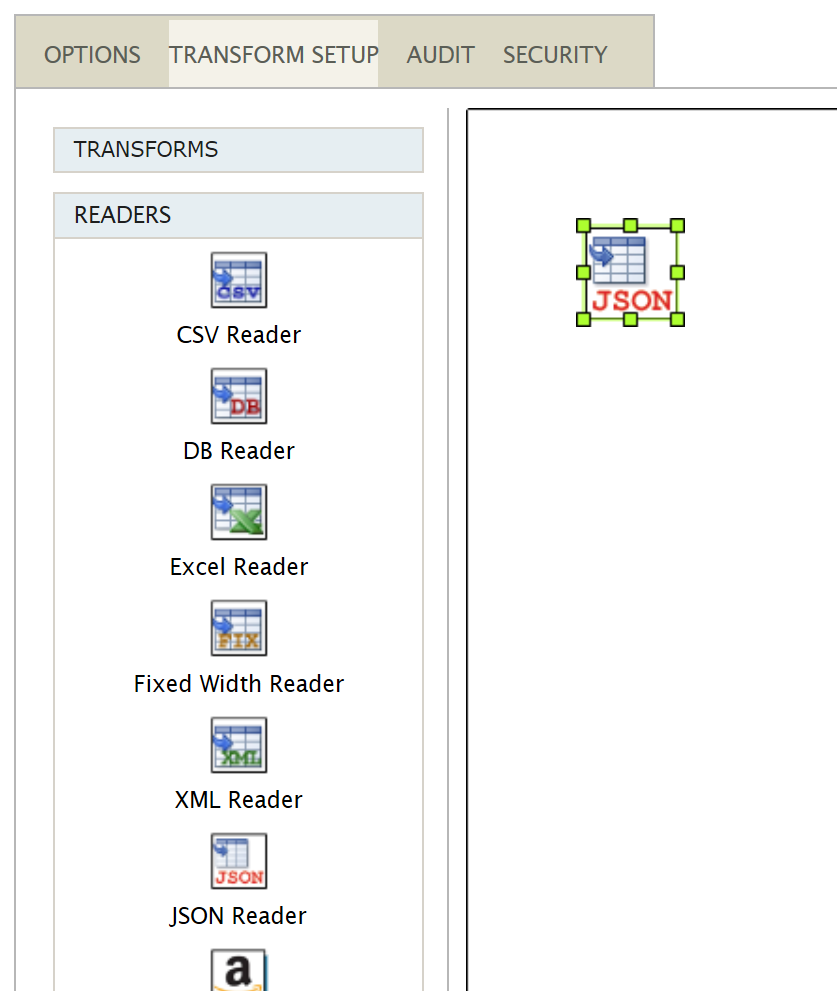
- Double click the JSON icon to open the transform setup screen.
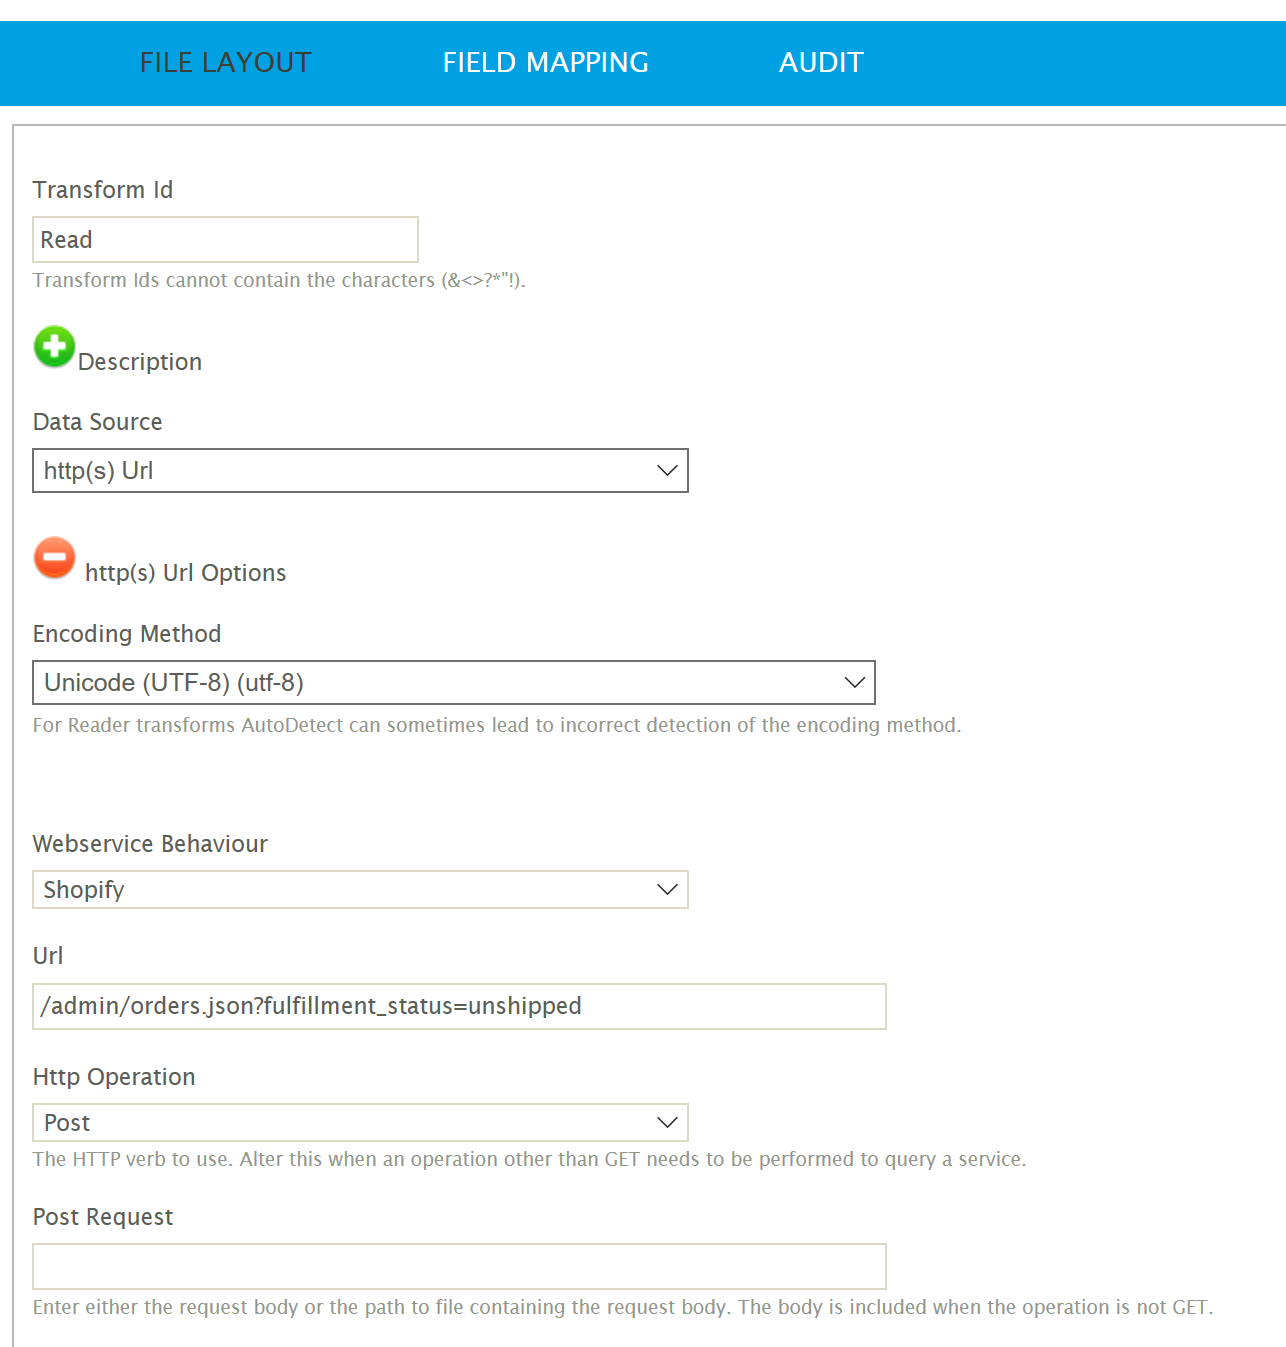
- Select Http(s) URL from the Data Source drop down.
- Select the Shopify Webservice Behaviour.
- The URL we wish to query, including any parameters/filters. Since we have a Base URL defined in the webservice behaviour the full URL does not need to be specified.
/admin/api/2020-01/orders.json?fulfillment_status=unshipped
Step b - Building up the Transform
This version of IMan we don’t have the facility to auto-detect the schema, so we need to define the levels/transaction types and fields ourselves. A good place to understand the hierarchical data can be found in the concepts.
SHOPIFY RESPONSE / JSON Data
To build the JSON Reader, we will use both the example response in the Shopify documentation and the mock response shown below.
{"orders": [
    {
      "id": 450789469,
      "email": "[email protected]",
      "closed_at": null,
      "created_at": "2008-01-10T11:00:00-05:00",
      "updated_at": "2008-01-10T11:00:00-05:00",
      "number": 1,
      "order_number": 1001,
      "discount_codes": [
        {
          "code": "TENOFF",
          "amount": "10.00",
          "type": "percentage"
        }
      ],
      "note_attributes": [
        {
          "name": "custom engraving",
          "value": "Happy Birthday"
        },
        {
          "name": "colour",
          "value": "green"
        }
      ],
      "payment_gateway_names": [
        "bogus"
      ],
      "processing_method": "direct",
      "tax_lines": [
        {
          "title": "State Tax",
          "price": "11.94",
          "rate": 0.06
        }
      ],
      "line_items": [
        {
          "id": 466157049,
          "variant_id": 39072856,
          "title": "IPod Nano - 8gb",
          "quantity": 1,
          "price": "199.00",
          "sku": "IPOD2008GREEN",
          "variant_inventory_management": "shopify",
          "properties": [
            {
              "name": "Custom Engraving Front",
              "value": "Happy Birthday"
            },
            {
              "name": "Custom Engraving Back",
              "value": "Merry Christmas"
            }
          ],
          "product_exists": true,
          "fulfillable_quantity": 1,
          "grams": 200,
          "total_discount": "0.00",
          "fulfillment_status": null,
          "tax_lines": [
            {
              "title": "State Tax",
              "price": "3.98",
              "rate": 0.06
            }
          ]
        },
        {
          "id": 518995019,
Addressing the Data – JPATH
To obtain the values within the data we use a syntax called JPATH. A full discussion can be found in the JPATH example document.
Configuration
- Click on the Field Mapping tab.
- Entry Point – The Entry Point is where the topmost parent transaction type begins to recur. This represents the top object (marked in red) in the returned data i.e. the orders.
- /orders
- Each transaction type/level needs to be defined, and therein each field defined.
Enter ‘Orders’ into the New Transaction Id text box and press the Add button [>] to create a transaction type and press the Edit button.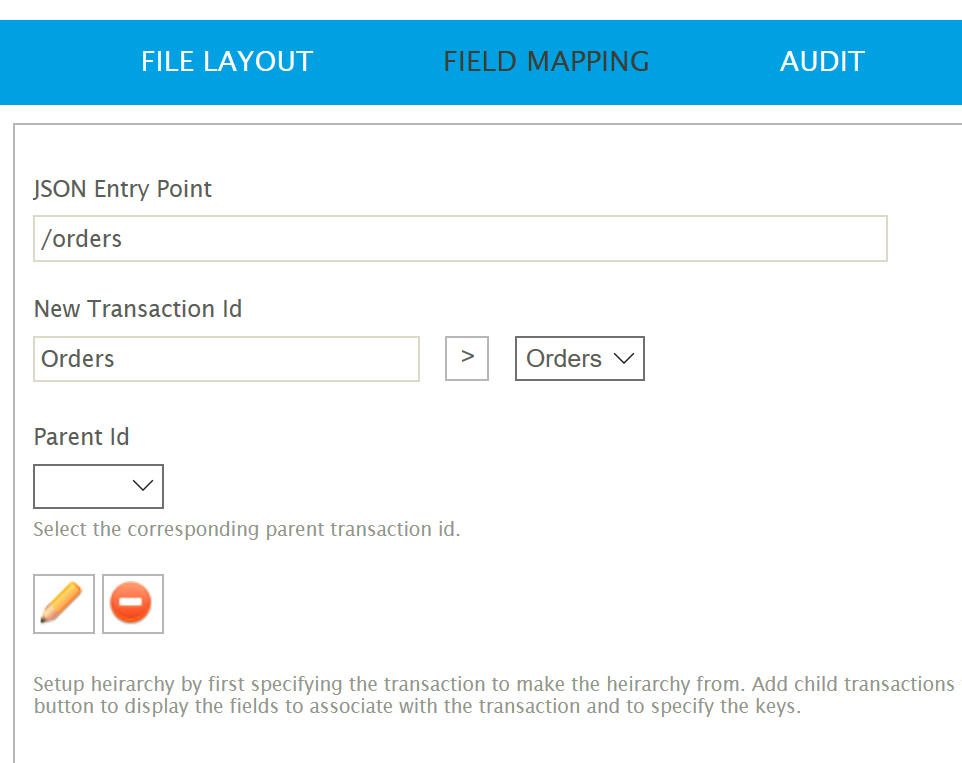
- Each of the fields which need to be included in the dataset need to be added.
To create a field double click the empty row in the grid (your grid will initially be empty).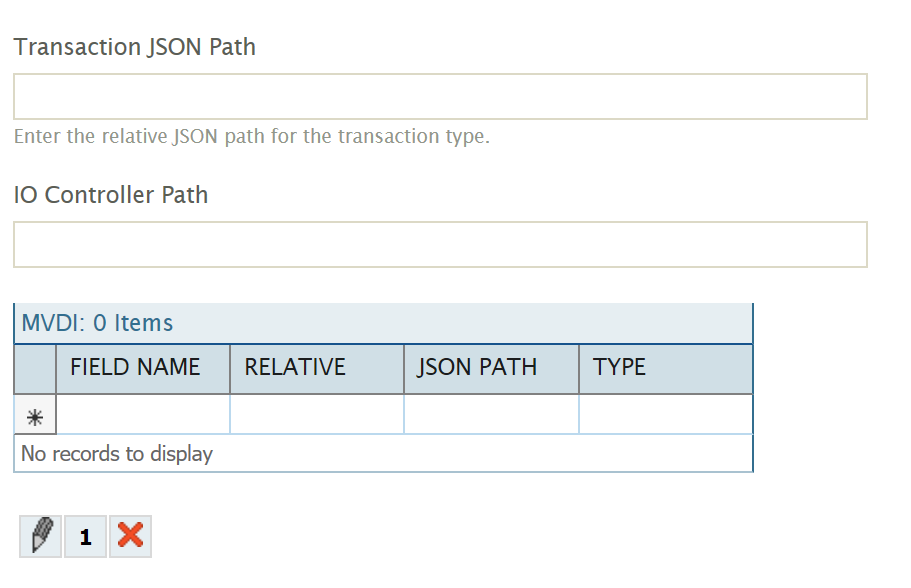
- To start simply, we will obtain the id (shown in green in the example response) for each of the ‘open’ orders.
- Field Name
- Enter 'Id'
- Field Type
- The field type. We recommend that you set the field type as closely as possible to the values expected.
- Select either 'Text' or 'Integer'.
- JSON Path
- The path of the property, where the path is typically relative (see 'Is Relative' below).
- Enter 'id'.
- The ‘id’ property is directly from the ‘orders’ object so there is no need for any forward slashes.
- Is Relative
- De-selecting allows you to address an element which is not prepended by the transaction path, parent transaction paths or the JSON entry paths. Non-relative paths allow you to address parts of the document which are not contained within a repeating part of the document. For example, a timestamp or id at the top of the document.
Since the id property is nested within the order object, it is relative.
- Leave 'Checked'

- Field Name
- Press the green tick to save.
- Press the Refresh button.
- Add the following fields repeating steps 4. to 6.
Field Name JPath Notes Email
email
FinancialStatus
financial_status
Name
name
Source
source
Currency
currency
Reference
reference
BillAddress1
billing_address/address1
Access a property from the ‘billing_address’ nested object.
BillAddress2
billing_address/address2
BillCity
billing_address/city
BillCompany
billing_address/company
BillZip
billing_address/zip
BillFirstName
billing_address/first_name
BillLastName
billing_address/last_name
ShippingCode
shipping_lines[]/code
Obtain the value from the first shipping object in the ‘shipping_lines’ array.
ShippingPrice
shipping_lines[]/price
ShippingSource
shipping_lines[]/source
ShippingTitle
shipping_lines[]/title
StateTax
tax_lines[title=’VAT’]/price
Obtain the value from the ‘tax_lines’ array where there is a property ‘title’ equal to ‘VAT’.

- Press Save and then press Refresh.
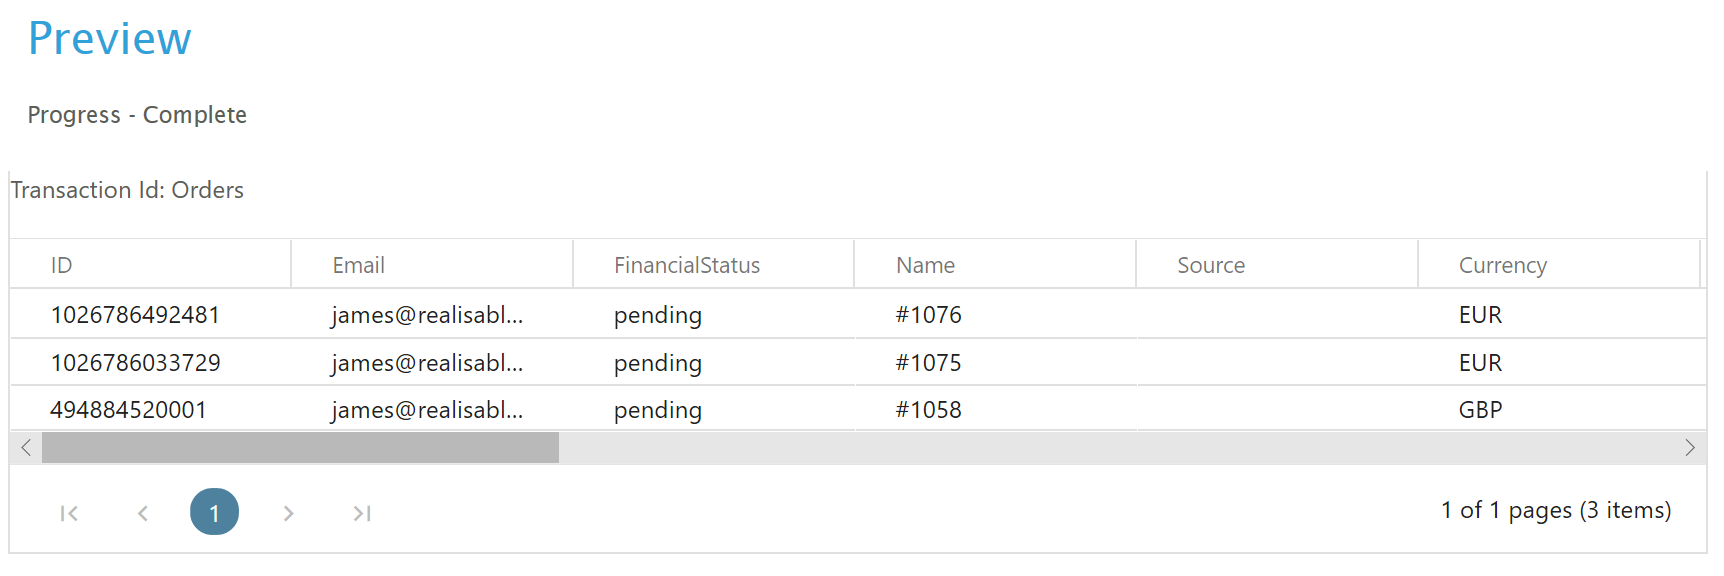
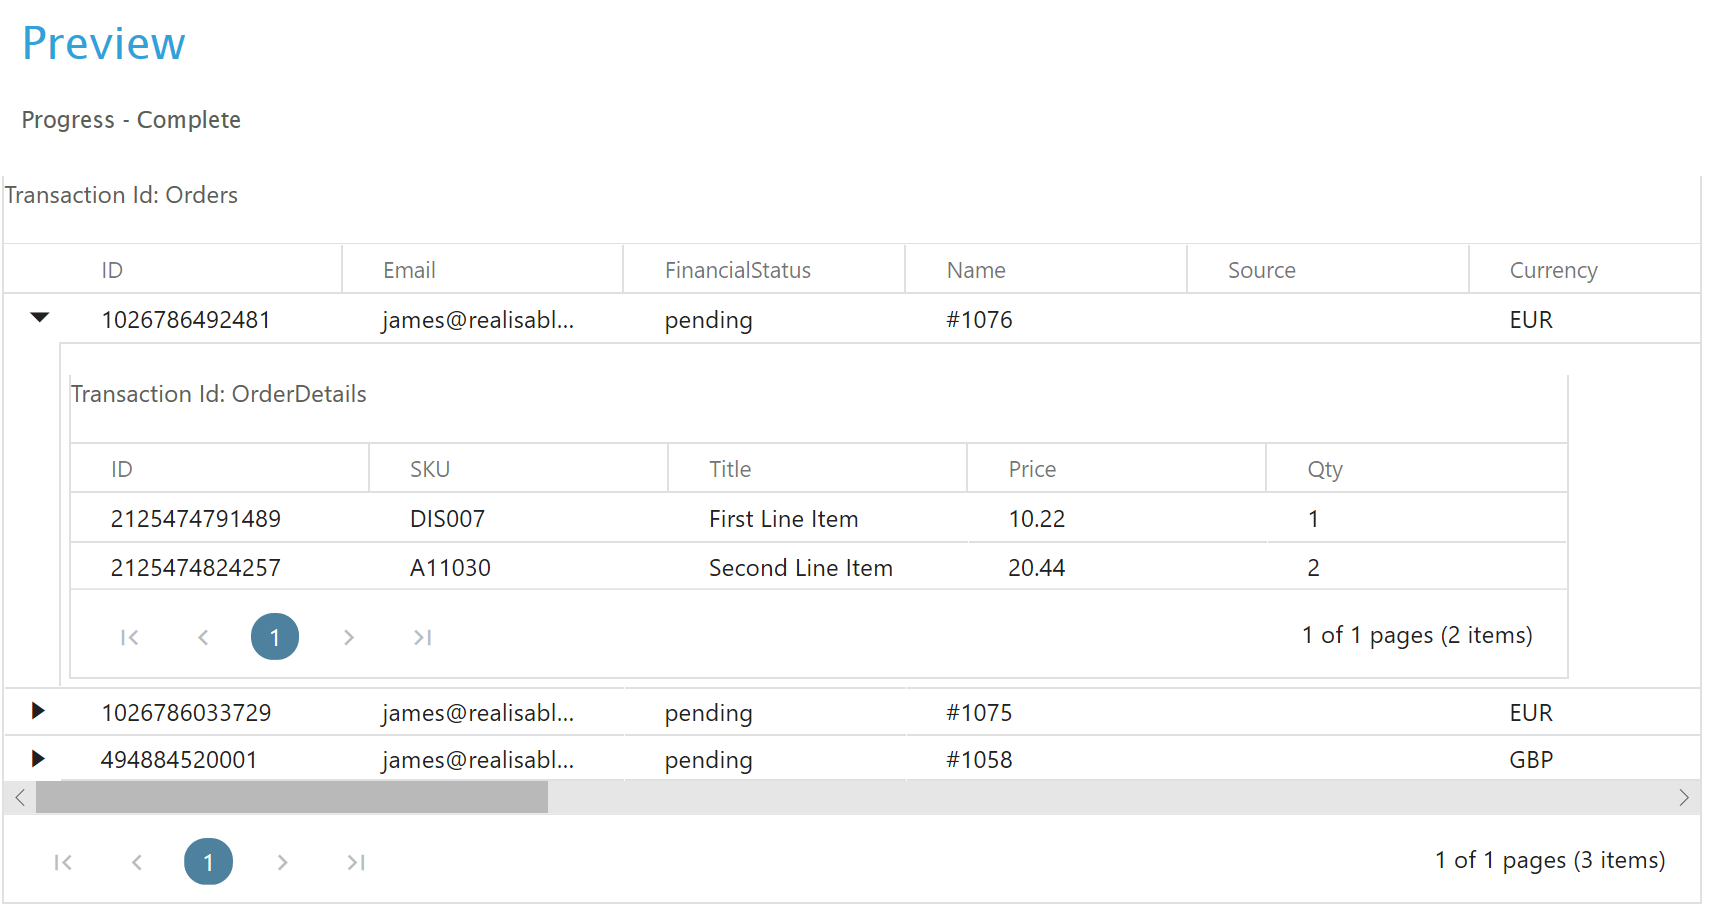
The ‘id’ property for each unshipped order should be displayed.

- In the next steps we will define the detail/line items.
Enter ‘OrderDetails’ into the New Transaction Id text box and press the Add button [>] to create a transaction type and press the Edit button.
Notice the Parent Id – Associating the newly created to the level to it’s parent.

- The ‘Transaction JSON Path’ allows you define which property contains the repeating set of objects (this is identical to the JSON Entry Point which defines the path to the array of order objects).
- Enter "line_items" (shown in blue in the example response).
- The path for each transaction type is relative to it's parent. The transaction JSON Path of the 'Orders' transaction type is empty, so the path in this instance is relative to the JSON Entry point.

- Add the following fields.
Field Name JPath Id
id
SKU
sku
Title
title
Price
price
Quantity
quantity
- Press Save and press Refresh.
