Options Tab
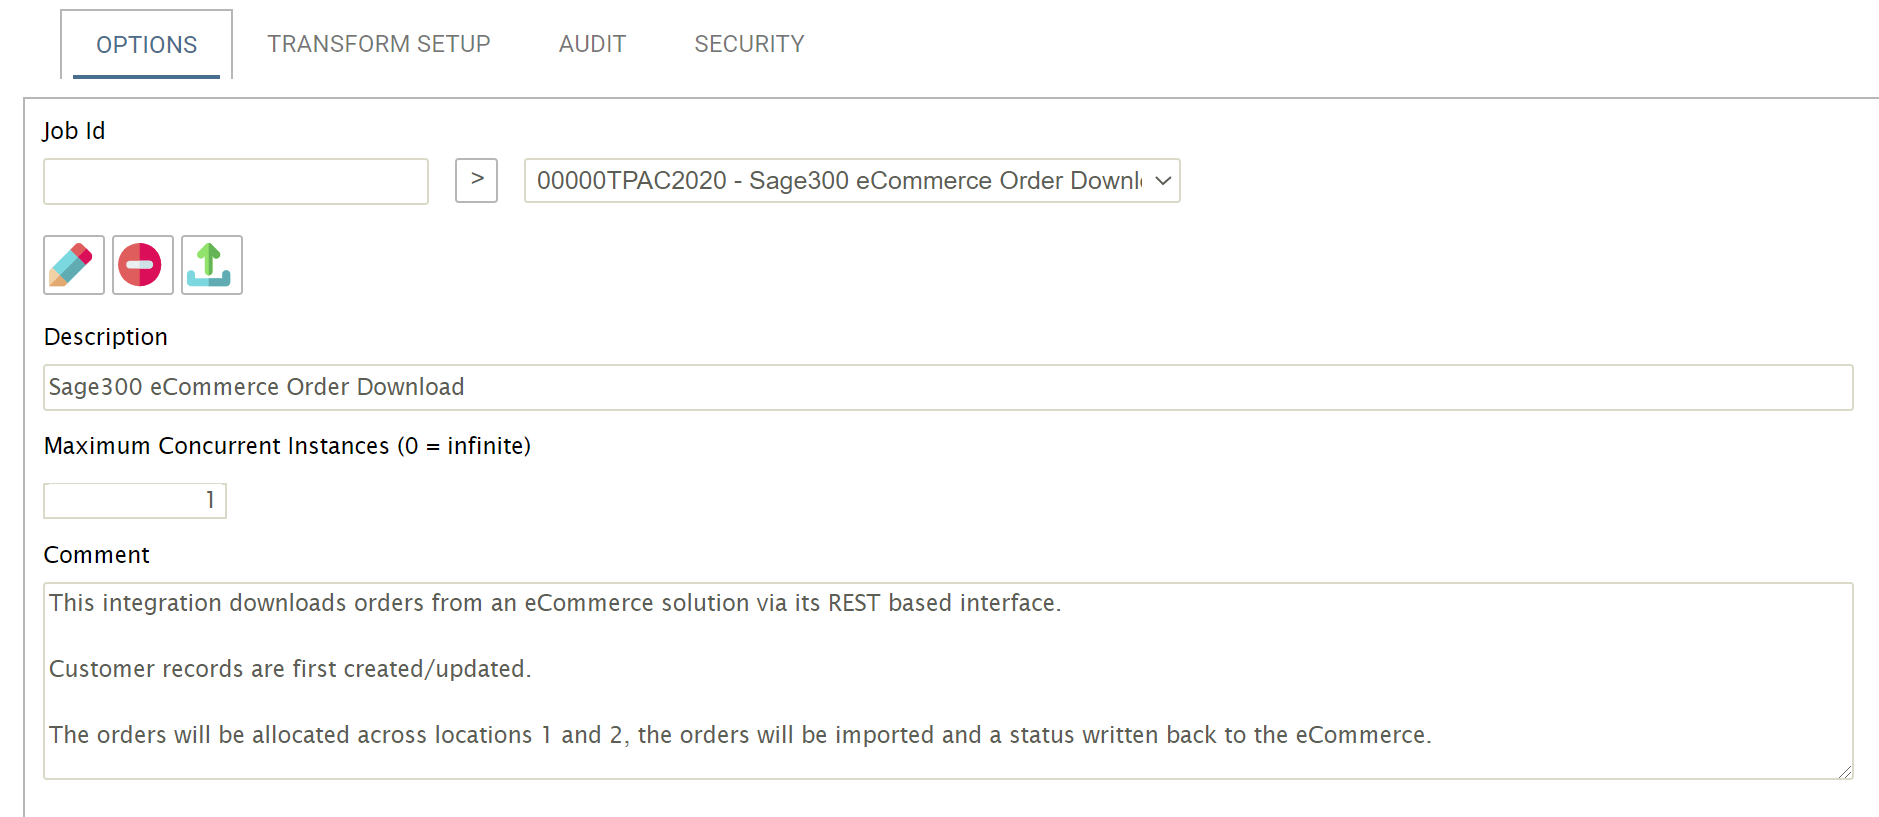
This Options tab is the first screen after Login. It contains basic settings and maintenance functions.
Design > Options Tab

Job Id
The user-defined Id given to the integration. This Id must be unique, and once set is not editable.
Add Button
To create a new integration, enter an Id into the Job Id field, and press the Add (>) button.
Job Id Drop-down
Lists previously defined integrations.
Edit Button

To edit an existing integration, select it from the Job Id drop-down and press the Edit button.
Delete Button
![]()
Deletes the integration. A prompt will appear to confirm deletion.When confirmed, the delete function removes the integration, and all references to it.
Import Button

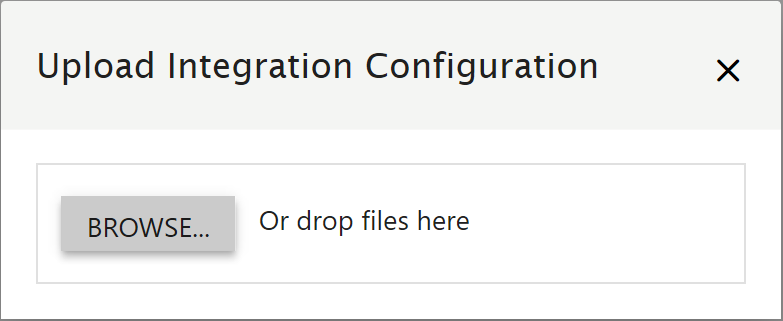
This allows the import of a setup configuration from another job into the current one.
When pressed you are prompted to either drop or browse to the location of the .xml file.

After import, a status message will appear to confirm that it was successful, or not.
Description
Add a reference for the integration.
This description together with its Job Id form the integration's title.
Maximum Concurrent Instances
This controls the number of transforms that can be executed simultaneously.
Typically, this will be set to either zero (0), where multiple transforms can be run at once, or one (1) where only one transform can be run at a time.
For integrations with a Monitors enabled (available for Email Controller only), this field is set to (1), and cannot be changed.
Comment
Comments or notes can be entered here, such as design decisions, describing what the integration does or its logic.
Save Button
![]()
Saves the integration.